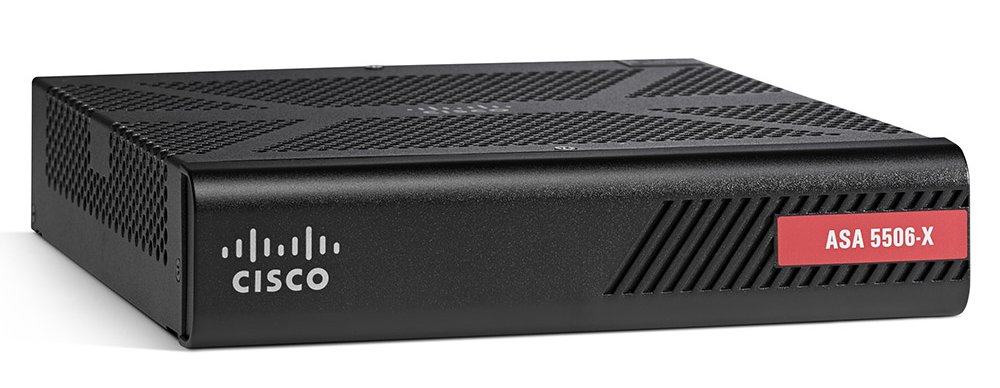
Connecting the Cisco ASA 5506-X to the internet is not complicated and from your experience on the ASA 5505, the principles are similar. If you are a beginner, feel free to follow the step by step guide below which explains how to configure Cisco ASA 5506-X for Internet.
how to configure cisco asa 5506-x for internet
Let’s go ahead to cover how to configure cisco asa 5506-x for internet in the following steps.
To configure the cisco asa 5506-x for internet, there are important steps to follow to achieve this efficiently;
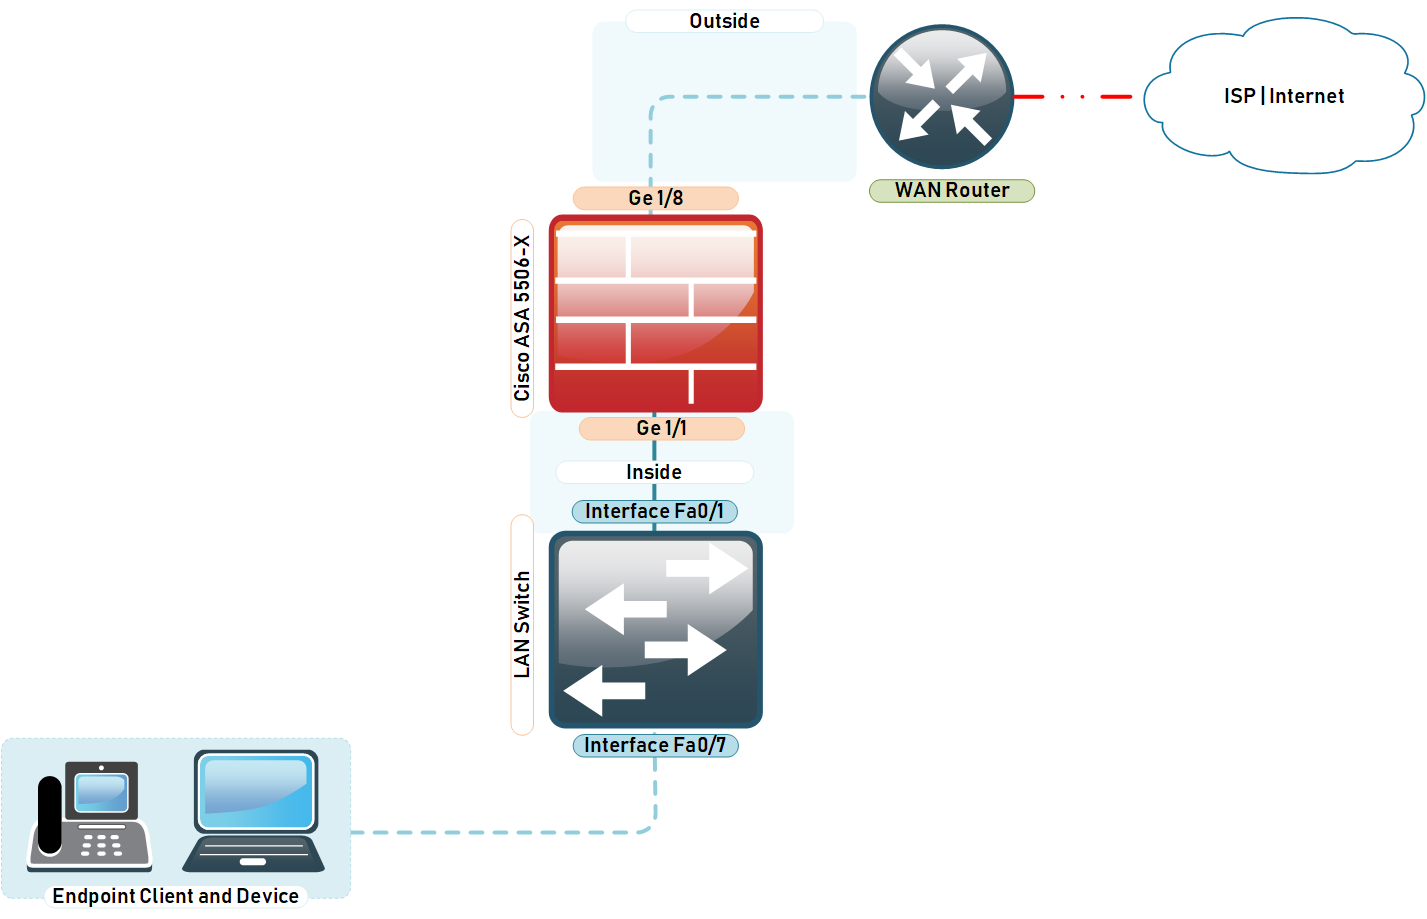
User LAN network:
Subnet: 172.16.10.0 /24
Gateway: 172.16.10.1 (ASA Inside Interface configured on GigabitEthernet1/1 )
Step 1: Configure the Outside Interface – WAN Facing Perimeter
!
interface GigabitEthernet1/8
  description "Outside Interface to ISP Router" <--ISP Router is configured 192.168.1.254
  nameif outside
  security-level 0
  ip address 192.168.1.1 255.255.255.0
!
Step 2: Configure the DNS Domain
dns domain-lookup outside
dns server-group DefaultDNS
 name-server 192.168.1.254
 name-server 8.8.8.8
 name-server 8.8.4.4
Step 3: Configure the Default Route towards the ISP
Default route also known as the gateway of last resort is utilised when a destination address in the forwarding packets cannot be located in the routing table, In IPv4 the CIDR notation for a default route is 0.0.0.0/0 and ::/0 in IPv6. Below is the command you need to issue to perform this required step.
route outside 0.0.0.0 0.0.0.0 192.168.1.254
Step 4: Verify Connectivity
ciscoasa# ping yahoo.com
Type escape sequence to abort.
Sending 5, 100-byte ICMP Echos to 98.137.246.8, timeout is 2 seconds:
!!!!!
Success rate is 100 percent (5/5), round-trip min/avg/max = 150/154/160 ms
ciscoasa#
Step 5: Configure the Inside Interface - LAN Facing Perimeter
!
interface GigabitEthernet1/1
  description "Inside Interface to LAN Network"
  nameif inside
  security-level 100
  ip address 172.16.10.1 255.255.255.0
!
Step 6: Create Address Object for LAN Subnet.
!
object network Inside-LAN-Network
subnet  172.16.10.0 255.255.255.0
!
Step 7: Configure NAT for Inside Network
Two things required in order for the internal hosts to go out to the Internet are configuring the Network Address Translation (NAT) and routing all traffic to the Internet Service Provider. Access Lists or ACLS are not required because all outbound traffic is traversing from higher security level (inside) to lower security level (outside).
nat (inside,outside) after-auto source dynamic any interface
Step 8: Allow End Devices to Ping Domains on the Internet
policy-map global_policy
class inspection_default
inspect icmp
Step 9: Verify ICMP - Cisco ASA Allow Ping From Inside to Outside
Setting up a Cisco ASA firewall the firs time has a fundamental requirement which is to allow internal lan devices to be able to successfully ping the Internet. It is convenient for the network administrator to be able to check and verify if the Internet is up by pinging Google.com for example but not only that, but also for certain applications to work correctly as required. It is also good to note that network monitoring tools like Solarwinds Orion needs to be able to ping a device before it tries to poll SNMP. I will cover how to enable ICMP inspection to allow ping traffic passing ASA as per the commands below.
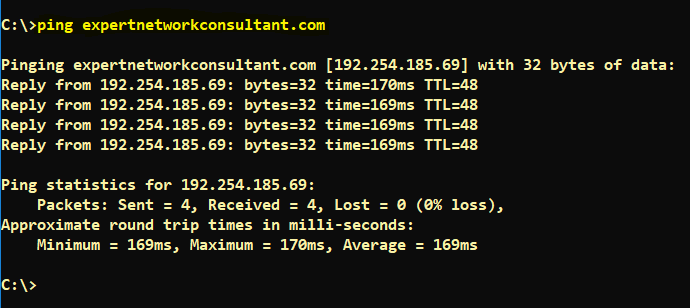
C:\>ping expertnetworkconsultant.com

Pinging expertnetworkconsultant.com [192.254.185.69] with 32 bytes of data:
Reply from 192.254.185.69: bytes=32 time=170ms TTL=48
Reply from 192.254.185.69: bytes=32 time=169ms TTL=48
Reply from 192.254.185.69: bytes=32 time=169ms TTL=48
Reply from 192.254.185.69: bytes=32 time=169ms TTL=48

Ping statistics for 192.254.185.69:
    Packets: Sent = 4, Received = 4, Lost = 0 (0% loss),
Approximate round trip times in milli-seconds:
    Minimum = 169ms, Maximum = 170ms, Average = 169ms
C:\>
Thanks for reading our article "how to configure cisco asa 5506-x for internet" today. You will find our blog post how to configure nat the cisco and vyos way quite useful.


