[SOLVED] Configuring Guest Wireless with VLANS
Is there a need in Configuring Guest Wireless with VLANS?
A shinny access point opens doors to advanced possibilities with your WiFi deployments. Configuring Guest Wireless with VLANS is an amazing way of getting a secured Wireless Solution away from the Corporate Infrastructue. Imagine users bringing their own devices to your corporate offices and needing internet access. Would you have them join your Corporate WiFi? If you are in the slightest clued up on security, you would know that BYOD on Corporate WiFi is an invitation to a big compromise to your network.
Wireless deployment could be as sophisticated as you would wish or otherwise simpler depending on your business needs and requirements.
In this article, I aim to share with you the practical approach to configuring your Layer 2 or 3 Switch with a DHCP Server and an Access Point or Controller to create a secured Guest Wireless Network.
But before we begin you might be wondering about the real benefits of a Guest Wireless Network.
Here are the Top 3 Benefits to a Secure Wireless Guest Access:
1) Separation of Traffic
Implementing a secure Guest Access will seperate and segregate internal and guest traffic, providing iron-clad security for any organizations LAN and servers. Different policies can be applied to different users on the network, allowing different network privileges to each user. So for example Consultants with Guest badges may be allowed on a specific Guest Wireless which allows them to Print.
2) Flexible Control
With Guest Wireless, there are usually a secured captive portal where users attempting to connect to the network are prompted to enter a username and password via a customized webpage. This blocks devices from gaining access without the proper authentication credentials. New guest accounts can quickly be provisioned, as well as accessed. Guest Access can be provided without major reconfiguration of guest computers, eliminating the need to call for technical support.
3) Usage Data
Secure Guest Access provides historical data that accounts for who used the network, when they used it and how it was used. Track specific user accounts and filter out unwanted activity. When properly implemented, a guest access system improves customer satisfaction and enhances the productivity of guests and IT staff alike.
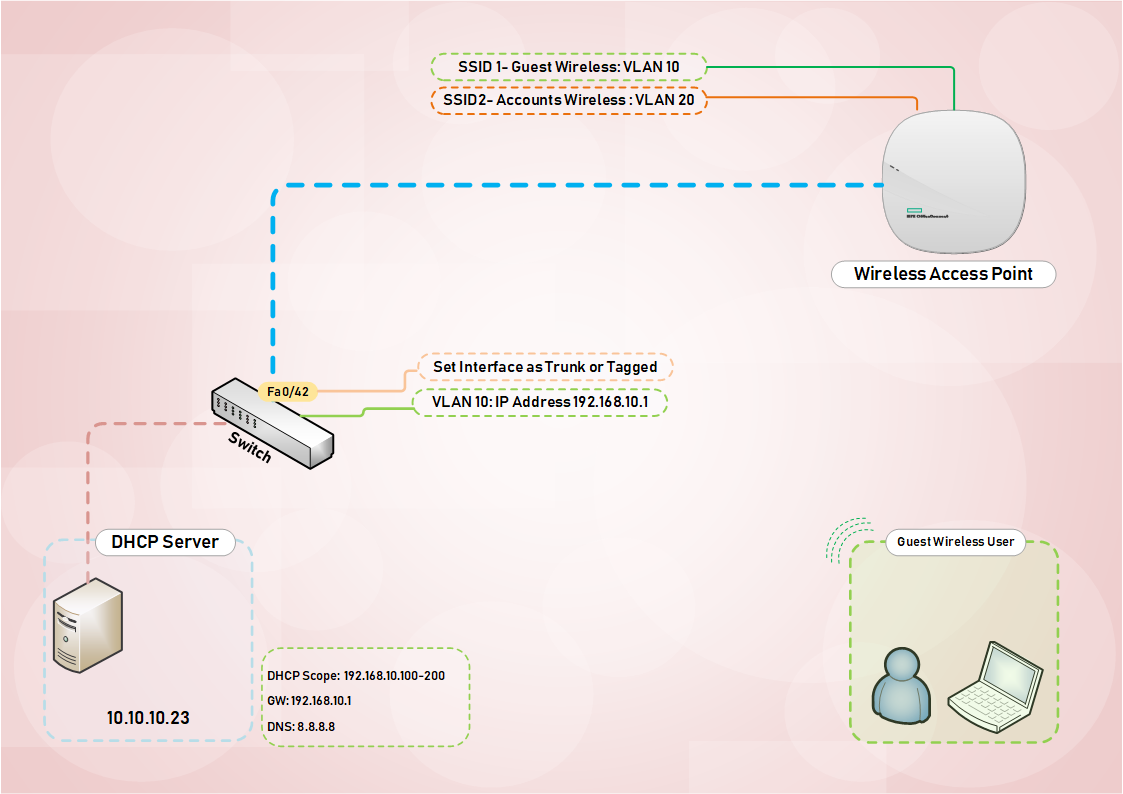
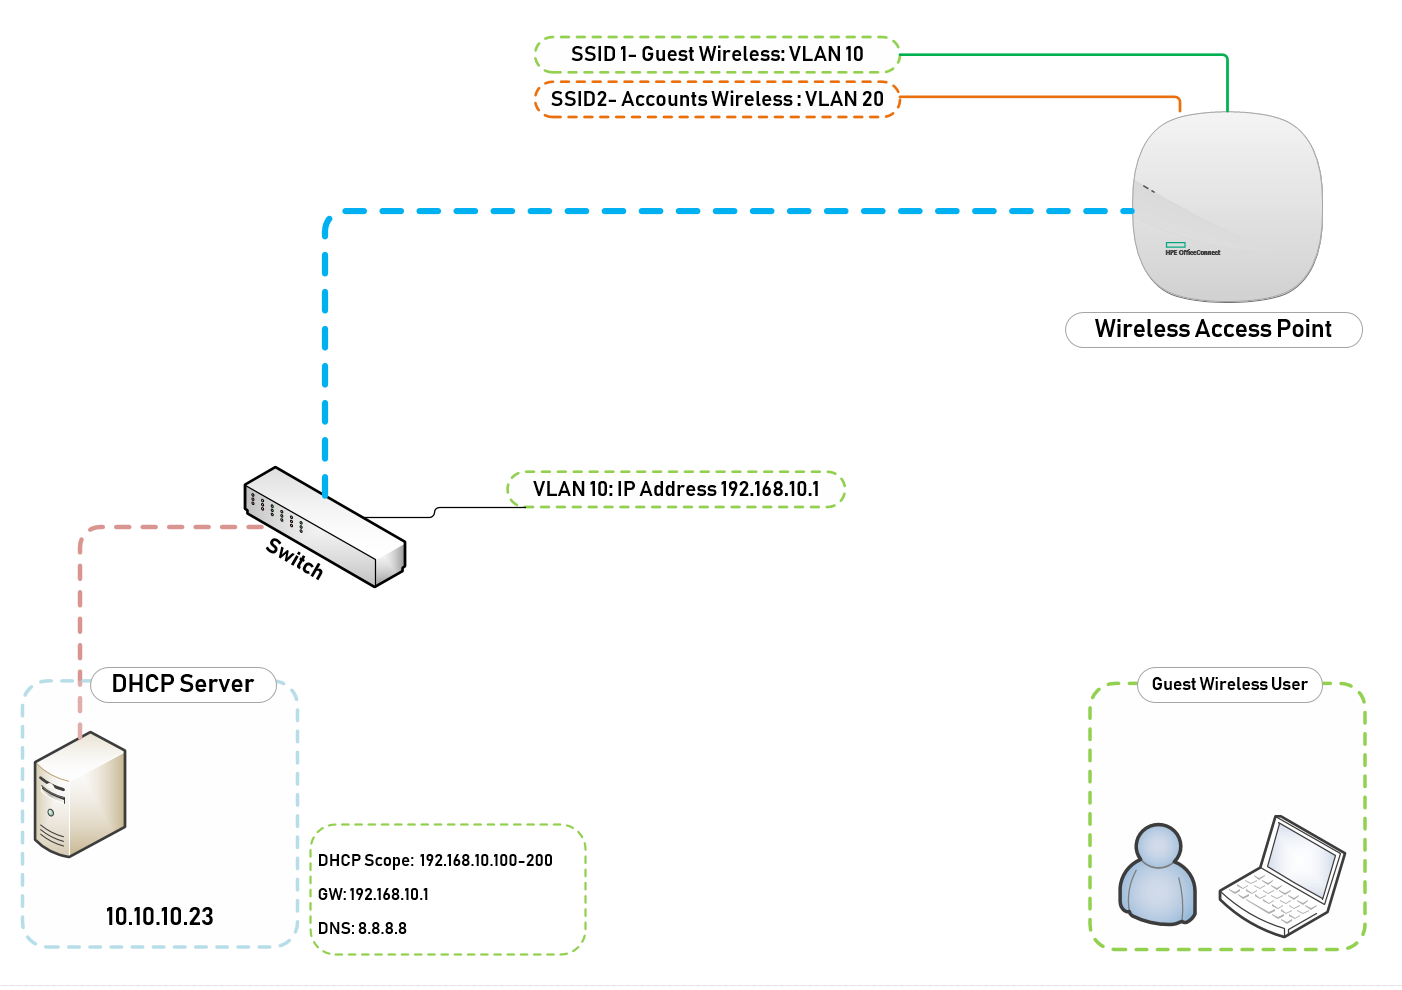
Figure 1.1 shows a network topology of my current setup and the steps I am going to use to deploy a Guest WiFi.
Below are the required steps to configuring your Guest Wireless SSID;
What you will need;
1. DHCP on Switch or a DHCP Server otherwise known as an IP-Helper Address
2. Create VLAN with a good descriptive name
3. Assign VLAN ID an IP Address from the scope you are going to use – obviously exclude that IP Address
Follow the following steps on a Windows Server to create the DHCP Scope for the Guest Wireless VLAN.
Launch DHCP on your Server, in my case this is the address of the IP-Helper at 10.10.10.23
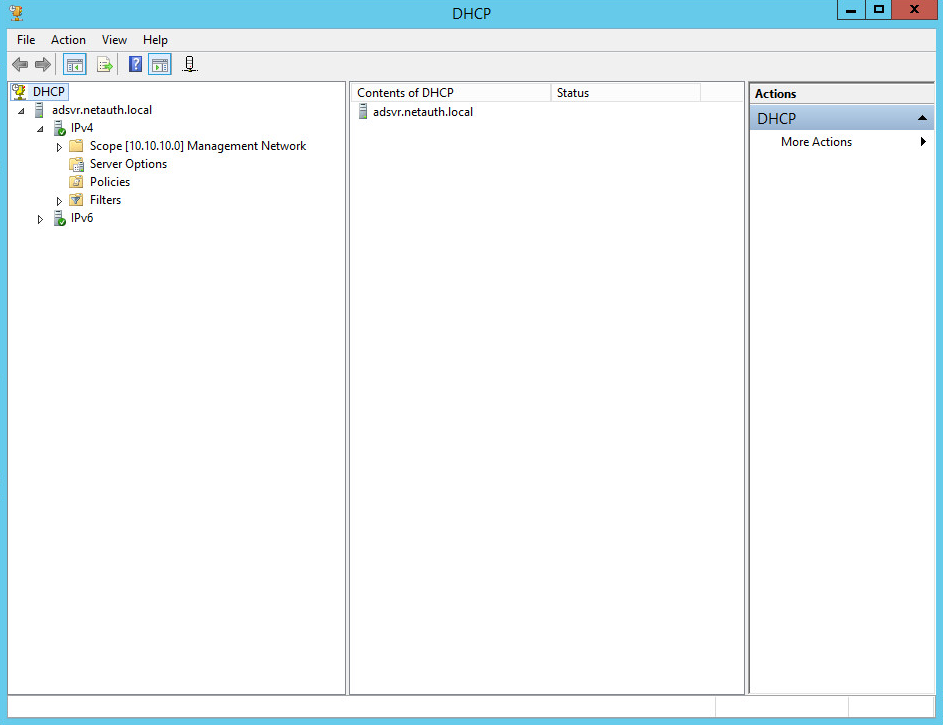
Right-Click on IPV4 and click on New Scope
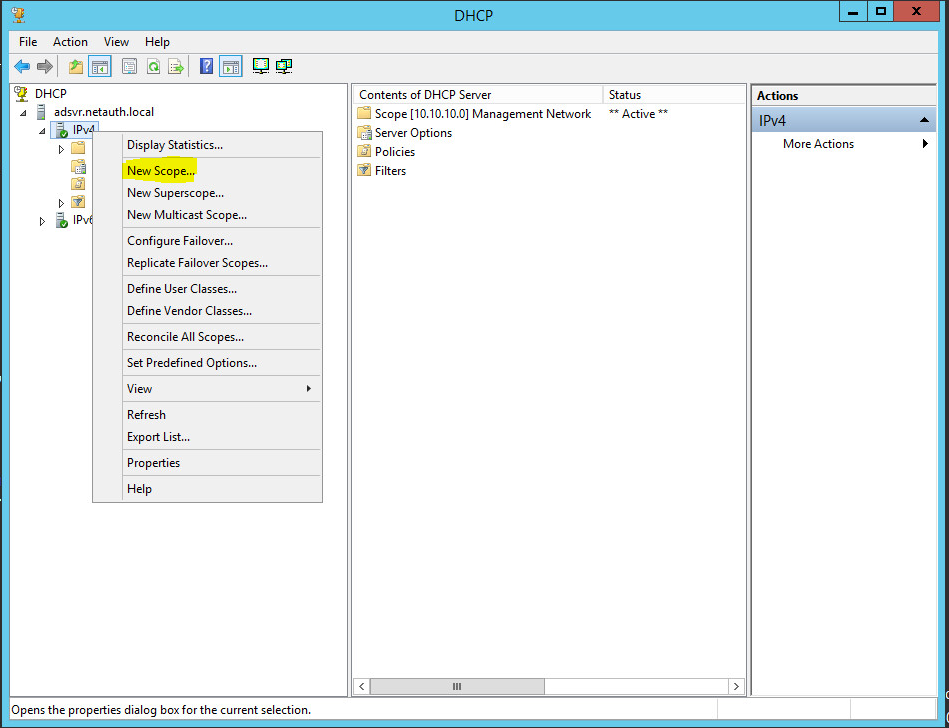
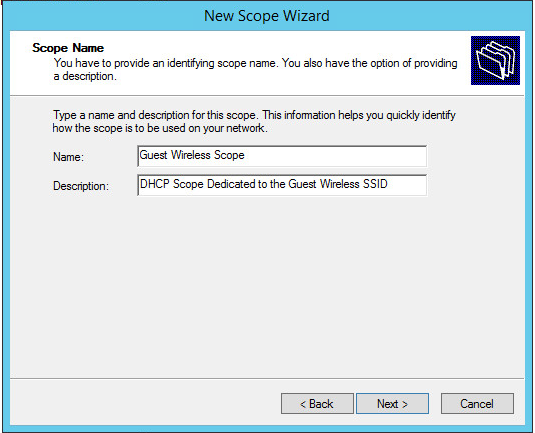
Give a meaningful name to your DHCP Scope, in my case I have called it “Guest Wireless Scope”
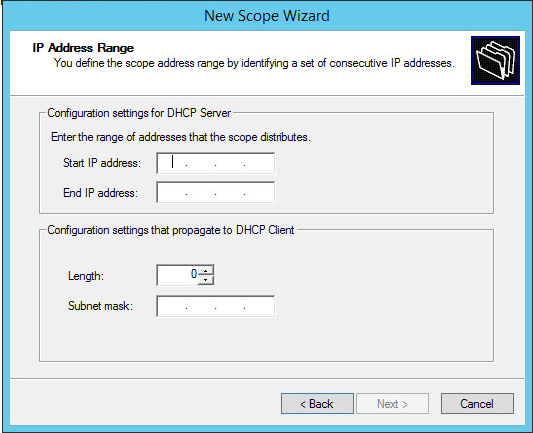
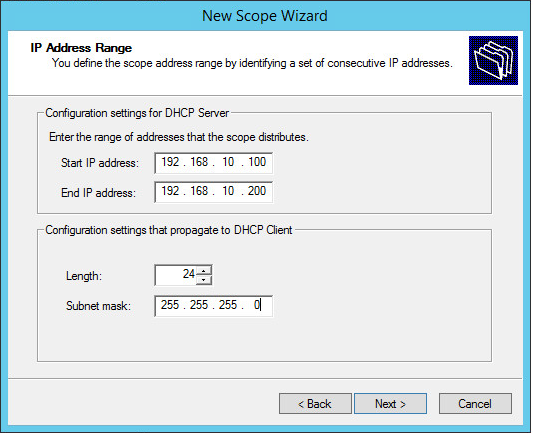
Setup your DHCP Scope
My scope starts from 192.168.10.100 to 192.168.10.200
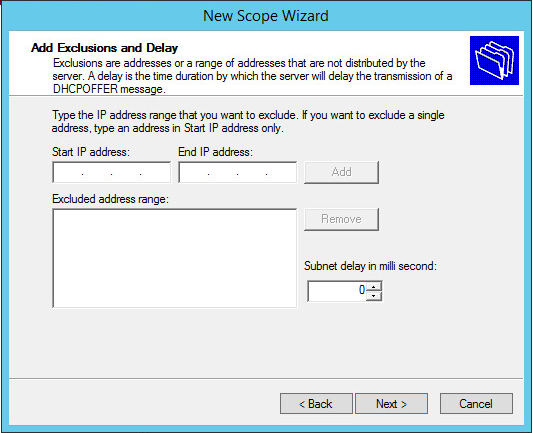
Add any exclusions where required – I had no need of an exclusion and so left it blank
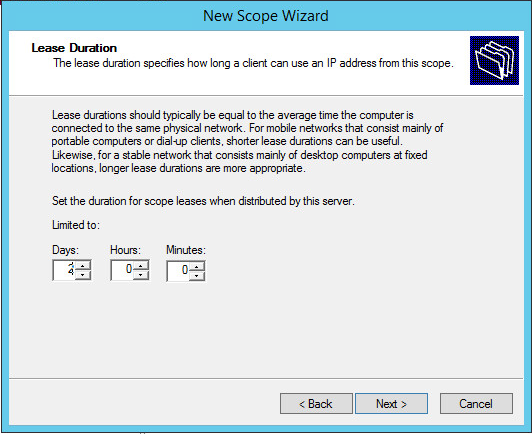
Set the Lease Duration, I have selected 2 days
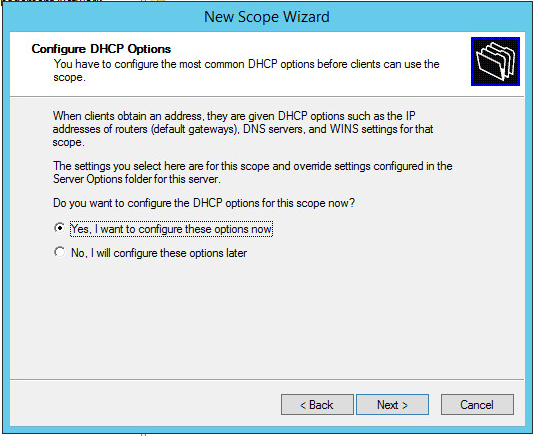
Configure the Scope Options
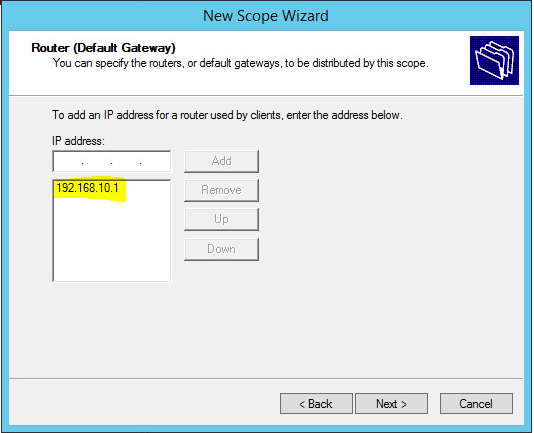
Configure the Router(Default Gateway) – IP Address of VLAN 10
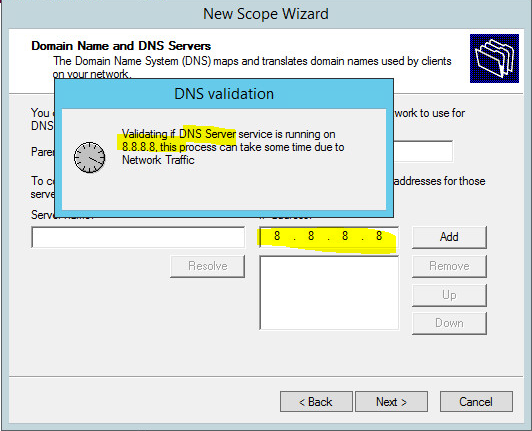
Configure Domain Name and DNS Servers – I used Google’s DNS as this is purely for Guest Wireless
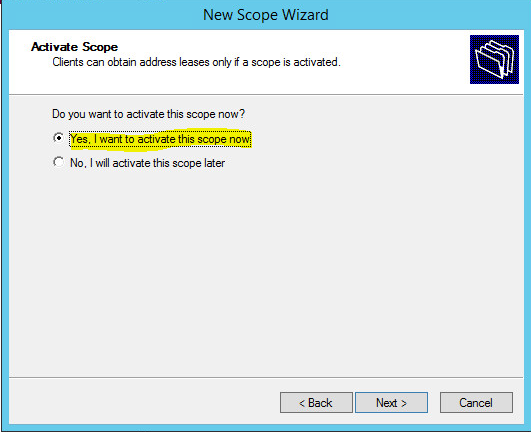
Activate the Scope
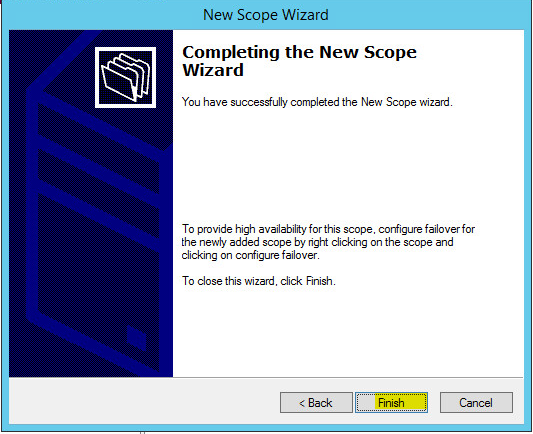
Click Finish
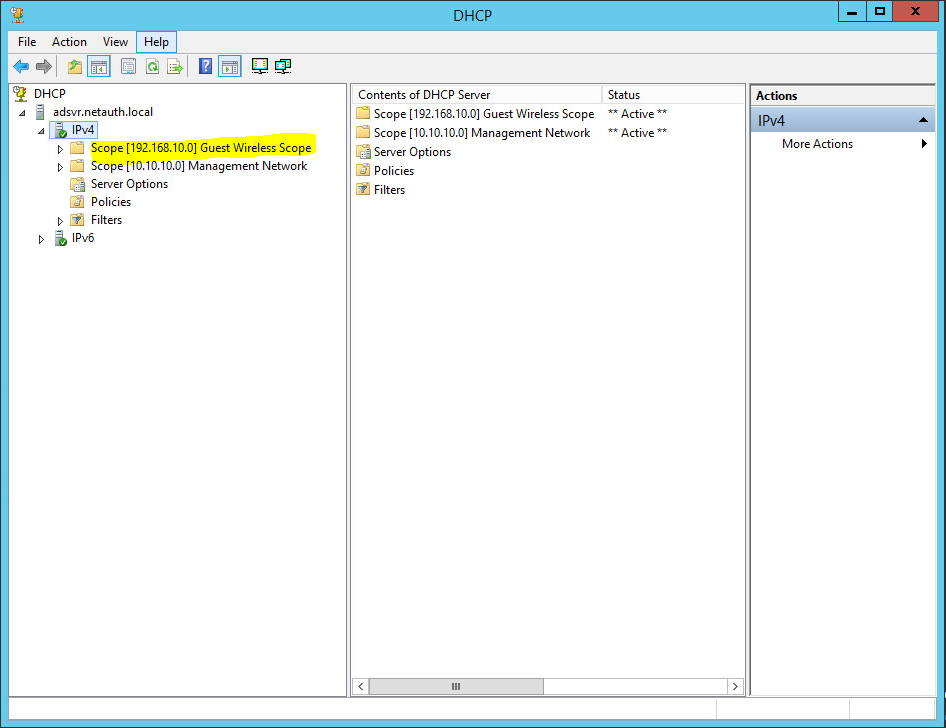
Review the New Scope to make sure every requirement has been met
Configure DHCP Pool on Layer 3 Switch or Router
Create a DHCP IP address pool for the IP addresses you want to use.
Switch(config)# ip dhcp pool GuestWirelessNetwork
Specify the network and subnet for the addresses you want to use from the pool.
Switch(dhcp-config)# network 192.168.10.0/24
Specify the DNS domain name for the clients.
Switch(dhcp-config)#domain-name mydomain.com
Specify the primary and secondary DNS servers.
Switch(dhcp-config)#dns-server 8.8.8.8 8.8.4.4
Specify the default router (i.e., default gateway).
Switch(dhcp-config)#default-router 192.168.10.1
Specify the lease duration for the addresses you’re using from the pool.
Switch(dhcp-config)#lease 2
Exit Pool Configuration Mode.
Switch(dhcp-config)#exit
Create the VLAN dedicated for the Guest Wireless;
The Cisco Way
Switch(config)# vlan 10
Switch(config)# name Guest Wireless


Switch(config)# interface VLAN 10
Switch(config-vlan-if)# ip address 192.168.10.1 255.255.255.0
ip helper-address 10.10.10.23
The available encapsulation options
Switch(config-if)#switchport trunk encapsulation ?
  dot1q      Interface uses only 802.1q trunking encapsulation when trunking
  isl        Interface uses only ISL trunking encapsulation when trunking
  negotiate  Device will negotiate trunking encapsulation with peer on interface
Switch(config-if)# interface  Fa0/42

   Switchport Trunk Encapsulation Dot1Q
   Switchport Trunk allowed VLAN 10
   Switchport Access VLAN 1
   exit
The HP Way
Swictch(vlan-10)#
   name "GUEST_WiFi"
   tagged 42
   ip helper-address 10.10.10.23
   ip address 192.168.22.1 255.255.255.0
Switch(eth-42)# interface 42
  tagged vlan 10
  untagged vlan 1
  exit


Your router or firewall’s interface connected to your switch must now be informed about the new subnets which would be traversing the network. So you must create a rule to allow the 192.168.10.0/24 to the internet and then you are on your way.
Your assignment is to create an SSID for the Accounts Department on VLAN 20. Configure a DHCP Scope to cater for the Accounts VLAN and then allow the subnet members access to the Internet.
You might want to also know how to configure your Cisco Router for Fiber or PPPoE